A Cucurbita Journey of 14 Months

This morning I made pumpkin muffins.  There’s a story here that spans a year+ in time.

The original green pumpkin, 2012

The original green pumpkin, 2012, and Maggie at the front door.

First I saved seed from a cool looking grey-green pumpkin I got at the Farmers Market last October, 2012.  It was a squatty, heavily ridged, a “Cinderella’s coach” shaped pumpkin.  Quite enchanting!

I planted the seeds in spring/summer 2013 and watched them grow.  My intention was to have home grown pumpkins to put by the doorstep in the fall.

The leaves were huge & the 2 vines were about 15 feet long toward the end of the growing season.  The blossoms looks like any squash blossom – large, yellow and attractive to bees.  I only had two nice-sized pumpkins by October, but then I really didn’t need any more than that.  It was fun to watch them grow.
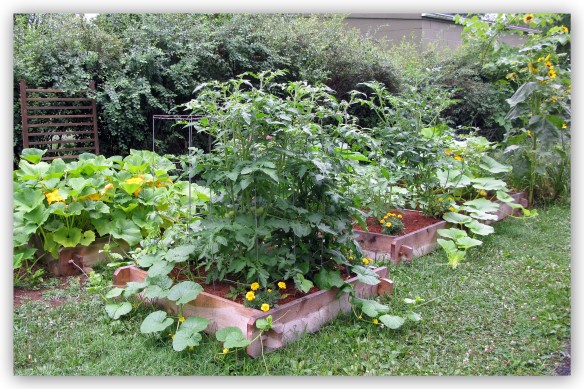
Early July.  The green pumpkin vine is at far right.  At left are the mini orange pumpkin vines.  Front and center, tomatoes & French melons.

Early July. The green pumpkin vine is at far right. At left are the mini orange pumpkin vines. Front and center, tomatoes & French melons.

I did use the pumpkins for fall decoration.

Then last week, after they’d spent time outdoors in the freezing cold, I thought I’d better take the seeds out and pitch the rest in the compost pile.  But when I cut one in half, it smelled and tasted so fine, I decided to cook some.  I peeled & cut it in chunks. The flesh was firm, sweet, and a beautiful orange color.  I saved the seeds for the squirrels, and a few seeds to plant next year.  The remainder went in the compost pile, as originally planned.

I sorta made it up as I went along, hoping for the best.  I’ve heard that the puree you make at home is never like what Libby’s sells in a can, but I found that untrue.  Mine turned out that thick consistency, the same color, fragrance, & taste.  I pureed the chunks by cooking in a pan, atop the stove, with a bit of water, a couple tsp. of sugar, and cinnamon & nutmeg.  It took a while to cook it down til it was almost a paste (like canned pumpkin). Placed it in fridge til I decided what to make with it.

Last night I scoured the internet for a good-for-you pumpkin bread recipe.  Found one at FineCooking.com (olive oil pumpkin bread, using honey, whole wheat flour, and olive oil).

Bright and early this morning I whipped up the batter, using my home grown pumpkin puree.  I felt like an old-fashioned country girl, and very “with it” chick, all at the same time as I pulled the recipe up on my Kindle Fire & parked it on the kitchen counter.  I impulsively added finely chopped pecans and fresh blueberries, too, which was a good decision, and a tablespoon of ground flax seed (which goes in any of my baked goods).  And I made a dozen muffins instead of a loaf of bread.  I ate the first one, fresh and hot with melting butter (so much for healthy)  – but, oh my how scrumptious!!

Muffins from home grown pumpkins, sweet, moist, & delicious.

Muffins, sweet, moist, & delicious, made from my home grown pumpkins.

I have more puree in the freezer.  Next time I’m going to make the recipe with dark chocolate chips, because dark chocolate is good for you!

A pumpkin adventure from start to finish, Oct 2012 til this morning.  And a journey I’m glad I took.  I’m only sorry that I didn’t take more pix to document the entire year.  I didn’t know it was going to be a story.  Maybe next year…

Fall is like…

“We have left undone those things which we ought to have done; and we have done those things which we ought not to have done”.  -Book of Common Prayer

Fall is sort of like those lines from the Book of Common Prayer, isn’t it?

I have a gazillion things to be done outside and it’s a bright, sunny day (but cold & windy), so I should be out there taking care of various fall garden chores…   “left undone those things which ought to have done”.  I know once I get out there working, I’ll get warmed up, but I’m procrastinating.  Maybe after lunch, it’ll be warmer then.

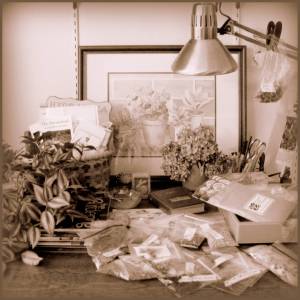
Instead I’m inside, fooling around with all the seeds I’ve collected over this growing season.  And it’s a task that could easily be done on a winter day, long after the fall garden wrap up is complete… “done those things I ought not to have done” (right now, anyhow).

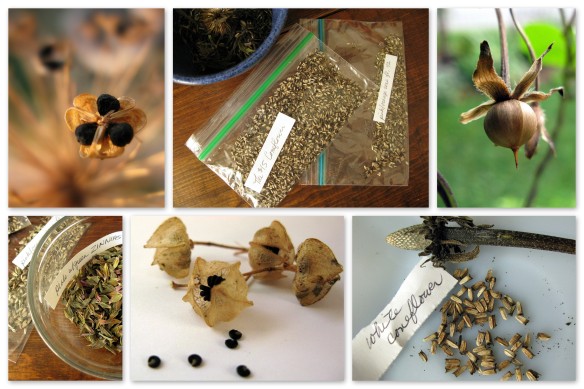
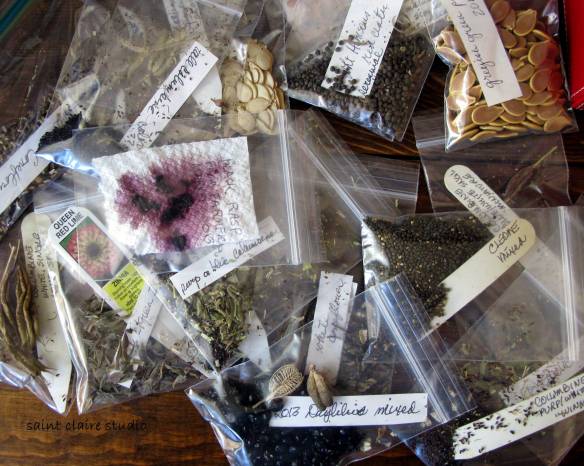
I never want to buy a plant twice – – – which is not the same as not wanting to grow it again, or not wanting to have more of the same.  I just don’t want to spend my hard earned $$ on it again.  It’s about collecting seeds!  Propagation.  I do it avidly in my own gardens and have been known to collect seeds in other places, too (garden centers, public gardens, friend’s gardens, gardens that grow street-side, in the wild… you get the drift, no seed is safe from me).  I save seed from the fruits & veggies I buy at the Farmer’s Market during the growing season.  Oh, and I do actually buy seeds, too, both locally and online.  And I exchange seeds with my Flickr friends.

10-18-12 part of wapiti trip11

Just a small portion of my bags of seeds

Just a small portion of my bags of seeds

IMG_9321

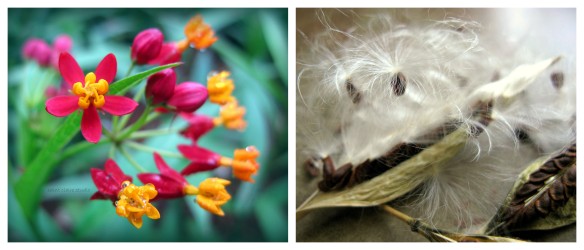
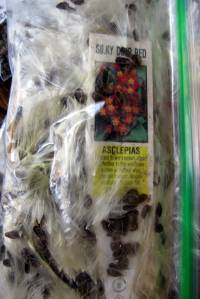
Anyhow, I’m working on all these seeds, cleaning, packaging, & labeling.  I get to the tiny 2×3″ plastic bag where I’ve been stuffing the ‘almost ready to pop’ dry seed pods from the annual silky deep red butterfly weed (asclepias ) I grew this summer.  I mean, the unopened pods are stuffed tight in the bag.  There are easily a dozen and a half pods.  I let very few of them open in the garden.  So, I grab hold of the stems and pull them all out… you know what’s coming, don’t you?  If you know what milkweed seed pods look like and how the seed disperses, you know.

flowers and seeds

flowers and seeds

Every one of those pods popped open, simultaneously!  They’d been waiting to disperse their seeds for ever-so-long and those babies were ready, and I mean READY!  And that’s exactly what they did!!  All over my work area in the corner of the living room!  And all over me!  Oh my!  How I wish I had a video of this event to share with you!  And then I started laughing, and they blew around even more!  I’ll undoubtedly have bits of this ‘fluff’ all  over for some time to come!  I did manage to capture most of them and stuff them in a new, larger baggie.

recaptured!

recaptured!

And, yes, I’ll plant those seeds next year.  But next year I’ll collect their seed a bit differently,with a bit more intelligence and understanding of the ways of this beautiful  red and yellow butterfly weed.

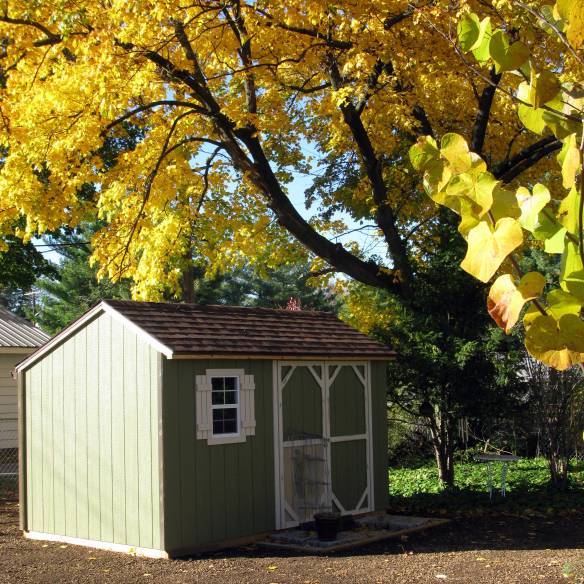
My new garden shed with trim not yet painted dark brown.

My new garden shed with trim not yet painted dark brown.

I’m working (or should be) on planting the area where I just had a garden shed built.  And I need to finish painting the shed door and trim (white trim now, will all be chocolate brown when – if – it ever gets done).  All those sale plants purchased end of season will be planted there.
It’s so gorgeous out today!  Fall leaves are just exquisite, showing their crayon box reds and yellows!  I’d best get out there and quit procrastinating…

4:30 PM update – Yay me!  Got out there & got some things done.  Once I get started, I’m a ball o’ fire :-).  And, sure ’nuff, hadn’t been working 15 minutes before I shed my jacket.

Planted and mulched:

  • 1 Beautyberry (callicarpa dichotoma ‘early amethyst’)
  • 10 reblooming German irises ‘Immortality’ (soft white)
  • 2 Ilex crenata ‘Helleri’
  • 1 Pink Knockout Rose (rosa x ‘radcon’ PP#15070)
  • 10 clumps of grape hyacinths (dug up prior to removal of the driveway fence)
  • a handful of mystery crocus bulbs (were mixed in with grape hyacinth bulbs above)
  • a Eupatorium Hyssopifolium (don’t know common name, but reminds me of the wildflower called boneset, which is also a eupatorium).
  • Rudbeckia ‘Henry Eilers’ (moved from an unsuitable place; I failed to read the height on the plant tag when I originally planted it and put it at the front edge of a bed).

Also got the gutter guard put on the back gutter of the shed where my rain barrels will be located.  In a climate with below freezing winters, do you empty out the rain barrel in late fall??

And I got the path from the front of the shed to the edge of the grass ready for gravel by putting down the landscaping cloth and placing the pavers at the edges to hold it down.  Now I need to get the gravel, but not today.  Whew!  I’m bushed!

A tomato with a story…

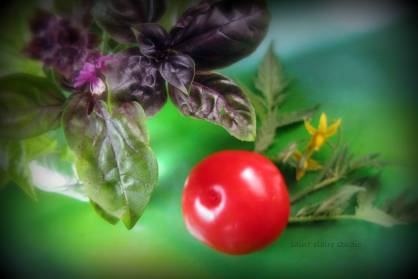
IMG_7253

Most tomatoes don’t have a story worth telling, but this one just might!

Most tomatoes are planted, grow, ripen, and are picked, sent to market or canned, sold and eaten.  Or maybe you grew it yourself & you can skip the ‘sold’ part.

This little tomato, whose identity is a mystery, has a slightly different story.

I have a pebble tray in my kitchen with all my orchids.  In January this year, a tomato seedling showed up in one of the pots.  I swear, I’m not one of those cooks who throws food around the kitchen, but somehow a seed made it to the orchid pot in the window.  I decided to just leave it and see what happened.  That orchid got more water than the rest because, honestly, orchid bark is not the best growing medium for tomatoes.  It’s quick draining.

Anyhow, the weeks went by, the seedling grew.  And wilted.  And I quickly watered it.  It perked back up.  And it grew and grew.  It was in a south-facing window with good diffused light, but there was a lot a space between each set of leaves.

By end of March or early April, it was 2′ tall and blooming, much to my surprise!  Far too early to even think of putting it outside.  And it needed a stake or something, as it kept falling over.  I leaned the stalk against the window frame and kept watering.

Even end of May is iffy for putting tomatoes outside in my garden zone.  The soil is not warmed up yet and our frost date is towards the end of May.  A small, green fruit was forming on the tomato plant.  Hang in there baby!

About a month ago, mid June or so, I re-potted the orchid and gently removed the very tall, single stem, tomato plant with, basically, water roots.  I planted it quite deep in one of my raised beds and stuck a winter driveway marker next to it.  And lots of twist ties to hold it in place.  At this point it’s 2 1/2 feet tall, this stringy, leggy, but tenacious tomato plant.  I watered and fertilized, and watched with wonder as it took off.

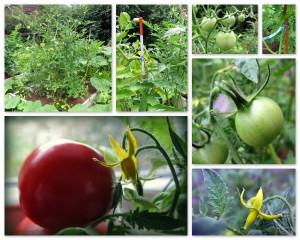
In the collage below you can see the wild thing it has become.  Lots of side shoots, all looking pretty healthy.  Lots of other stakes to hold up its branches.  It has lots of blooms and fruits forming.  At this point I’d guess it’s what you buy at the market called ‘vine tomatoes’.

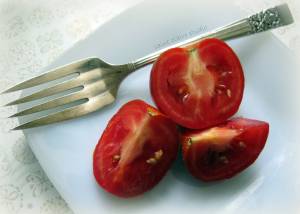
07-28-13 tomatoAnd I never though it would survive, much less produce a crop.  The first fruit, which survived the transplant process and grew more, was harvested a few days ago and put on the windowsill to ripen a bit more.  Today I’m eating it and it tasted just like any other home grown tomato – juicy and flavorful, if a bit small.

IMG_7267So that’s the story of the tomato that thought it was an orchid… or something like that.
Remind me to tell you sometime about the preying mantis egg case that hatched in my kitchen in February (with a foot of snow on the ground outside).  Happy gardening!

End of season update:  This plant produced more tomatoes for a longer period than all the other tomato varieties in my garden this year!  Truly, the little tomato that could…  I wonder if I should start all my tomatoes for 2014 in my orchid plants in January? hmmmm

Side Note:  When I want to save some tomato seeds for next year, this is what I do:

  1. I scoop the seeds directly from the tomato and smear them across a paper towel.
  2. I set it aside to dry.  I write the type of tomato and the year collected right on the paper towel.
  3. When completely dry, I fold the paper towel & place it in a baggie to store.
  4. When I’m ready to plant, I take large container, fill it with dirt, place the seeds (paper towel and all) on the soil.  Cover the seed with soil, water, watch ‘um sprout.  The paper towel disintegrates.
  5. Transplant into individual pots when the seedlings are big enough.